
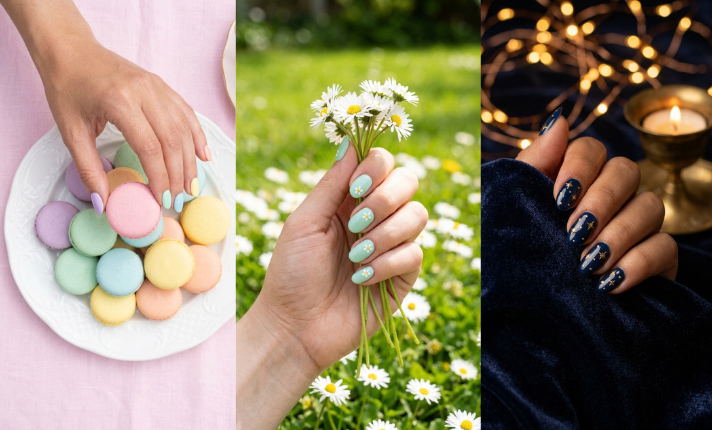
Some of my favorite manicures took less than 20 minutes. No salon, no fancy kit. Just a good base coat, a steady hand, and one small detail that makes the whole look feel finished.
That’s the magic of simple nail designs. They look clean in photos, go with every outfit, and don’t turn into a chipped mess halfway through the week. And if you’re still learning nail art, they’re the easiest way to build confidence.
Below are 20 simple nail designs I keep coming back to, from micro French tips and milky white nails to tiny hearts and a fall-ready burgundy. Each one comes with quick steps, so you can recreate it at home tonight. Save your favorites to your Pinterest board so they’re ready for your next mani.
In this post24 sections
- What You'll Need
- 1. Micro French Tips
- 2. Milky White Nails
- 3. Glazed Pearl Chrome
- 4. Single Dot Accent
- 5. Classic Polka Dots
- 6. Tiny Hearts
- 7. Colored French Tips
- 8. Double-Line French
- 9. Half-Moon Nails
- 10. Gold Cuticle Outline
- 11. Nude With a Gold Pinstripe
- 12. V-Tip French
- 13. Soft Ombré (Baby Boomer Nails)
- 14. Aura Nails
- 15. Tiny Daisies
- 16. Pastel Skittle Nails
- 17. Wavy Swirl Nails
- 18. Tiny Stars
- 19. Glitter Fade
- 20. Matte Burgundy With Glossy Tips
- How to Make Your Simple Manicure Last
- Frequently Asked Questions
- Final Thoughts
What You’ll Need
You don’t need a full nail kit for any design on this list. Here’s my simple setup:
- Base coat and glossy top coat (a quick-dry top coat saves so many smudges)
- 2 to 3 polish colors: a sheer nude or milky pink, a white, and one accent shade
- Dotting tool (a bobby pin or toothpick works just as well)
- Thin striper brush for lines and French tips
- Nail art tape for clean edges
- Small makeup sponge for ombré and aura looks
- Clean-up brush and acetone to fix the edges
- Optional extras: chrome powder, fine glitter polish, matte top coat
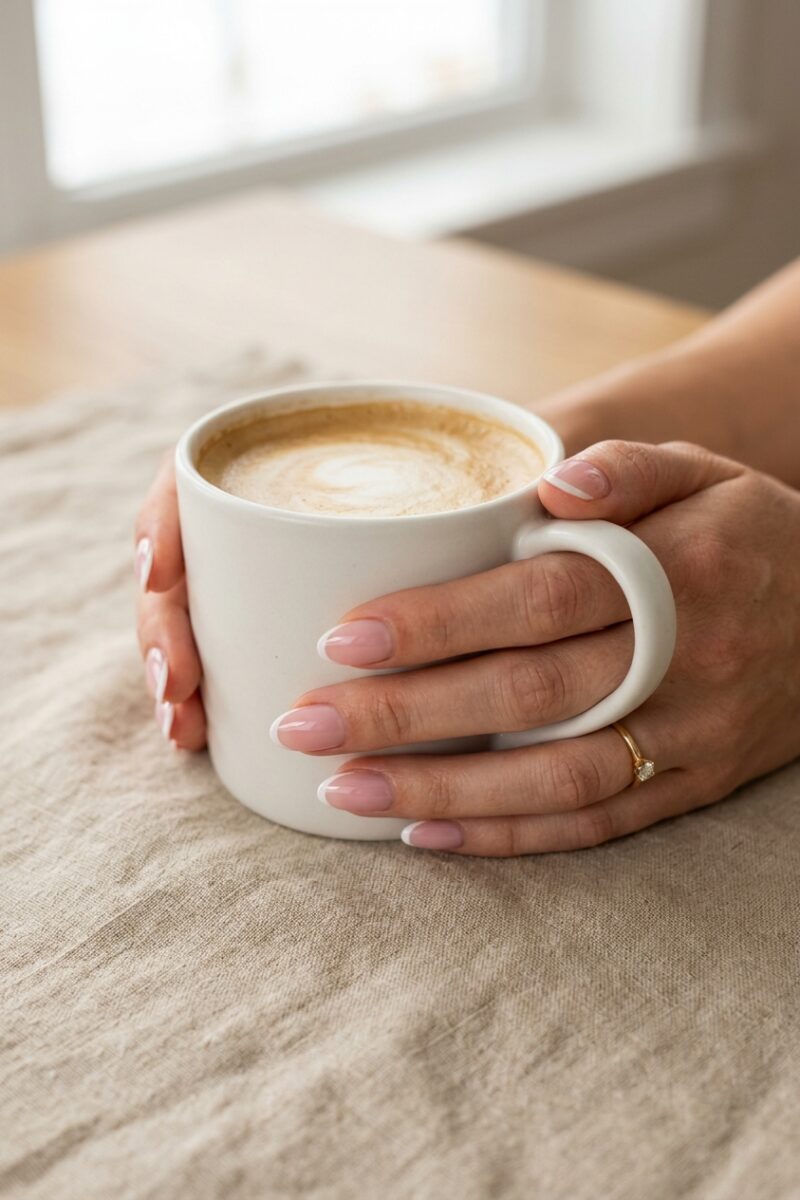
1. Micro French Tips
The French manicure got a quiet upgrade: the white line is now razor thin. Micro French tips look polished without screaming “I just got my nails done,” and they make short nails look longer.
How to get the look:
- Paint one coat of sheer pink or nude and let it dry.
- With a thin striper brush, trace a fine white line along the edge of each nail, following its natural curve.
- Clean up any wobbles with a brush dipped in acetone, then seal with top coat.
Best for: office days, interviews, and anyone who wants an effortless look.
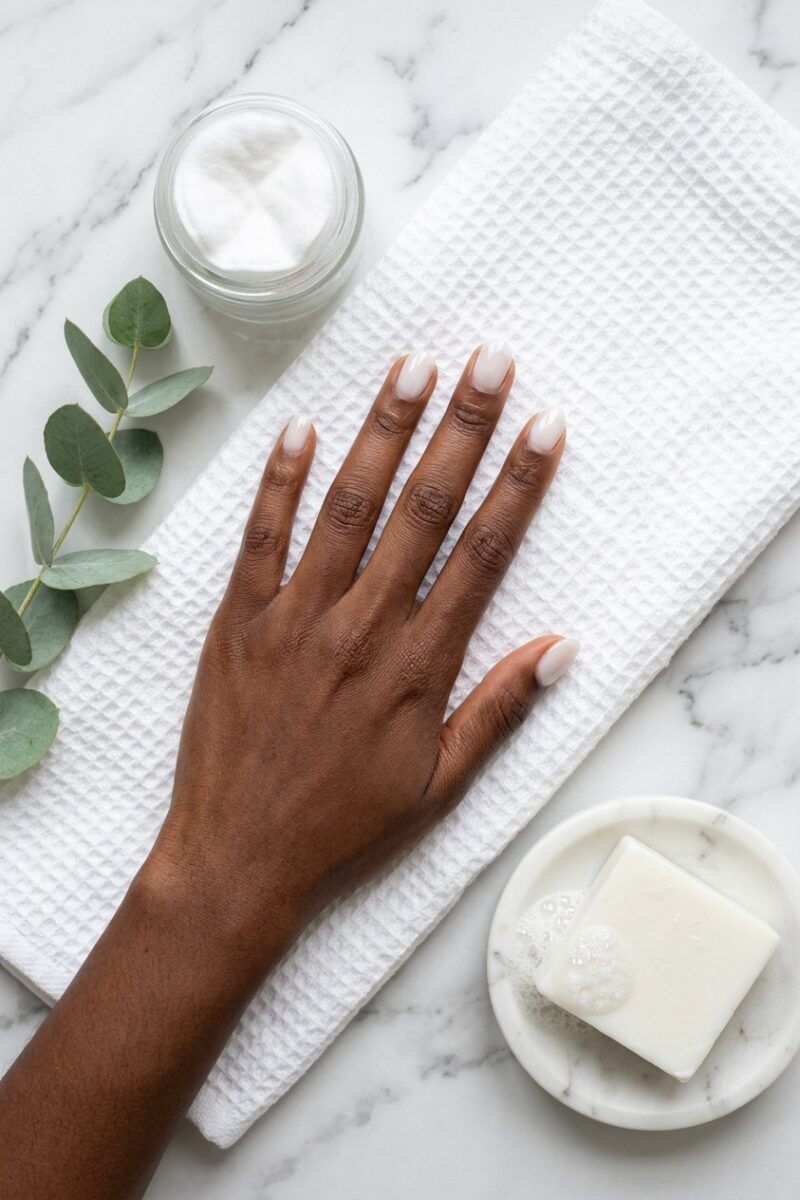
2. Milky White Nails
Milky white nails sit somewhere between sheer and opaque, like a drop of milk in water. They look fresh, clean, and flattering on every skin tone. Some people call them “soap nails” because they look freshly scrubbed.
How to get the look:
- Apply 2 thin coats of a semi-sheer milky white polish.
- Too opaque? Mix one drop of white polish into clear top coat and use that instead.
- Finish with a thick, glossy top coat for a jelly-like shine.
Pro tip: Keep nails short and rounded to make this look extra fresh.
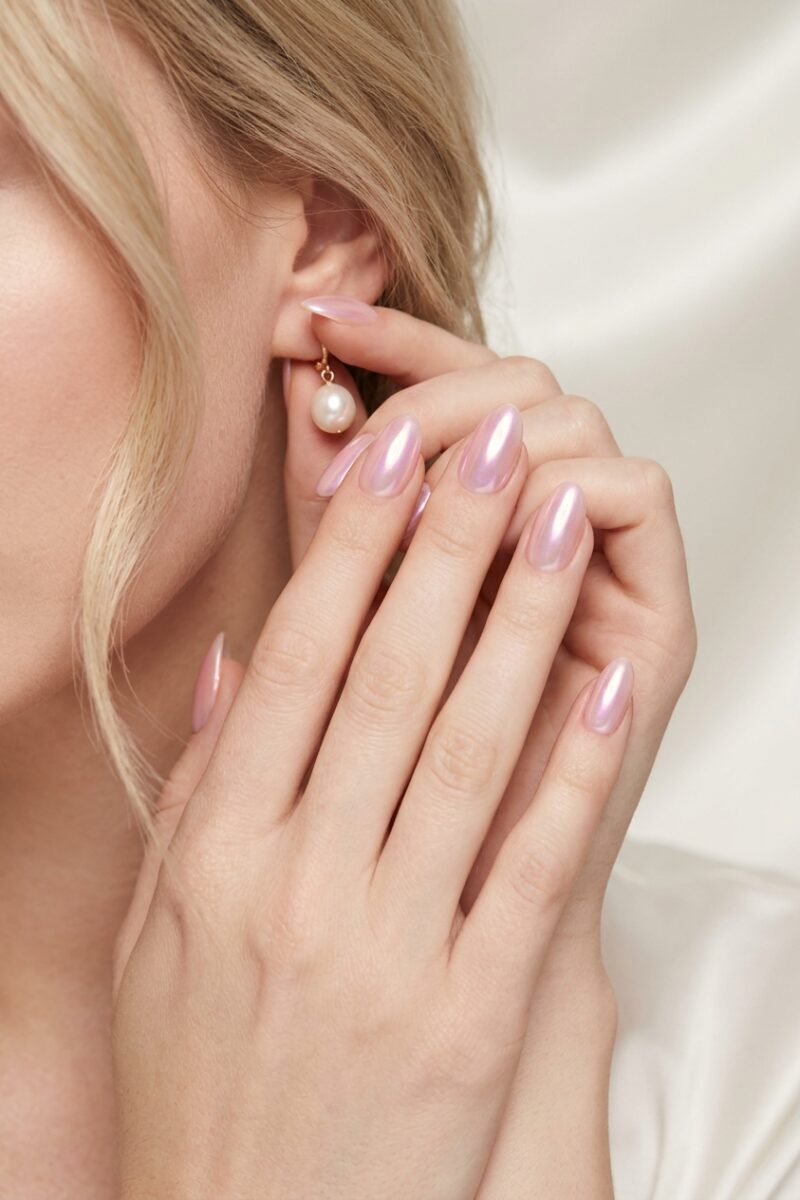
3. Glazed Pearl Chrome
The glazed donut look is still everywhere, and it’s easier than it looks. A pearly chrome shimmer over a soft base makes your nails catch the light in every photo.
How to get the look:
- Paint a milky white or pale pink base.
- If you use gel, apply a no-wipe top coat, cure it, then rub pearl chrome powder over it with an eyeshadow applicator.
- Seal with another layer of top coat. No gel? Swipe a pearl shimmer polish over the base instead.
Best for: weddings, brunch dates, and any time you want nails that look expensive.
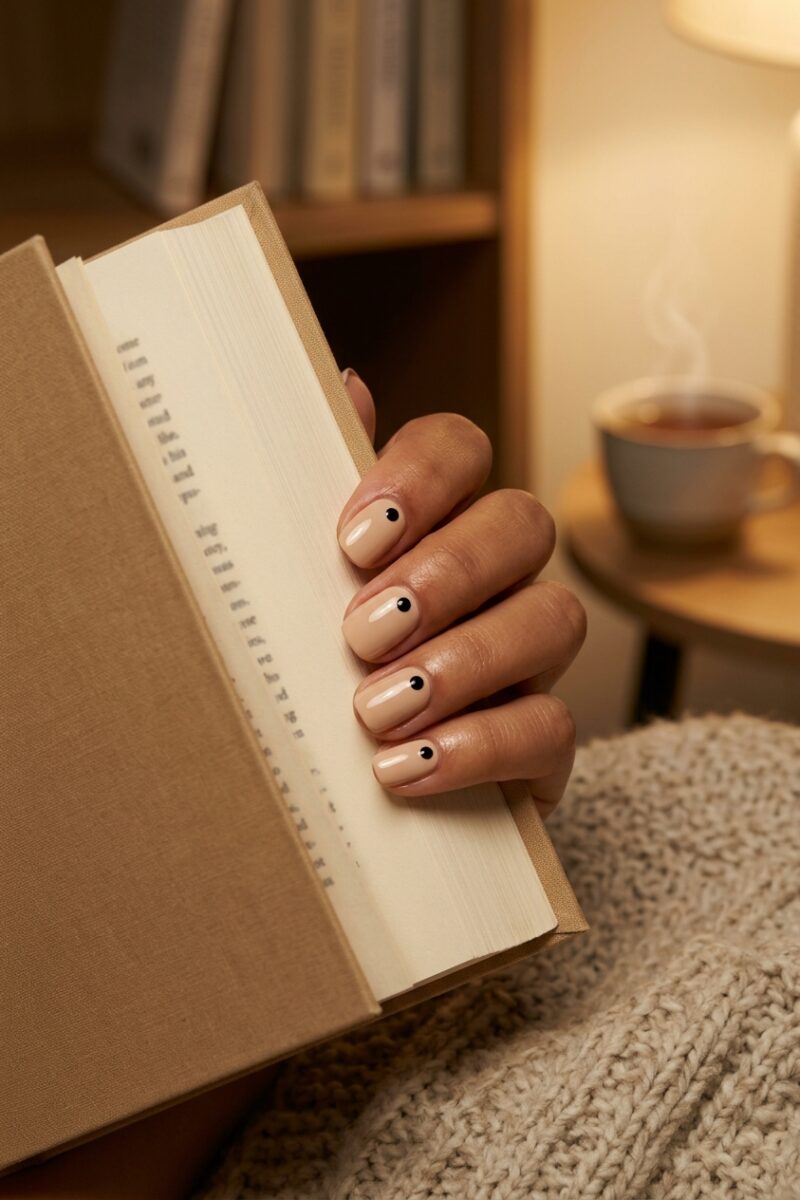
4. Single Dot Accent
One tiny dot at the base of each nail. That’s it. It’s the most minimal nail art there is, and somehow it looks completely intentional.
How to get the look:
- Paint a nude base, or keep your natural nail with clear polish.
- Dip a dotting tool (or the round end of a bobby pin) in black, gold, or white polish.
- Place one dot near the cuticle, centered on the nail. Let it dry, then top coat.
Pro tip: Move the dot to the tip for a playful twist.
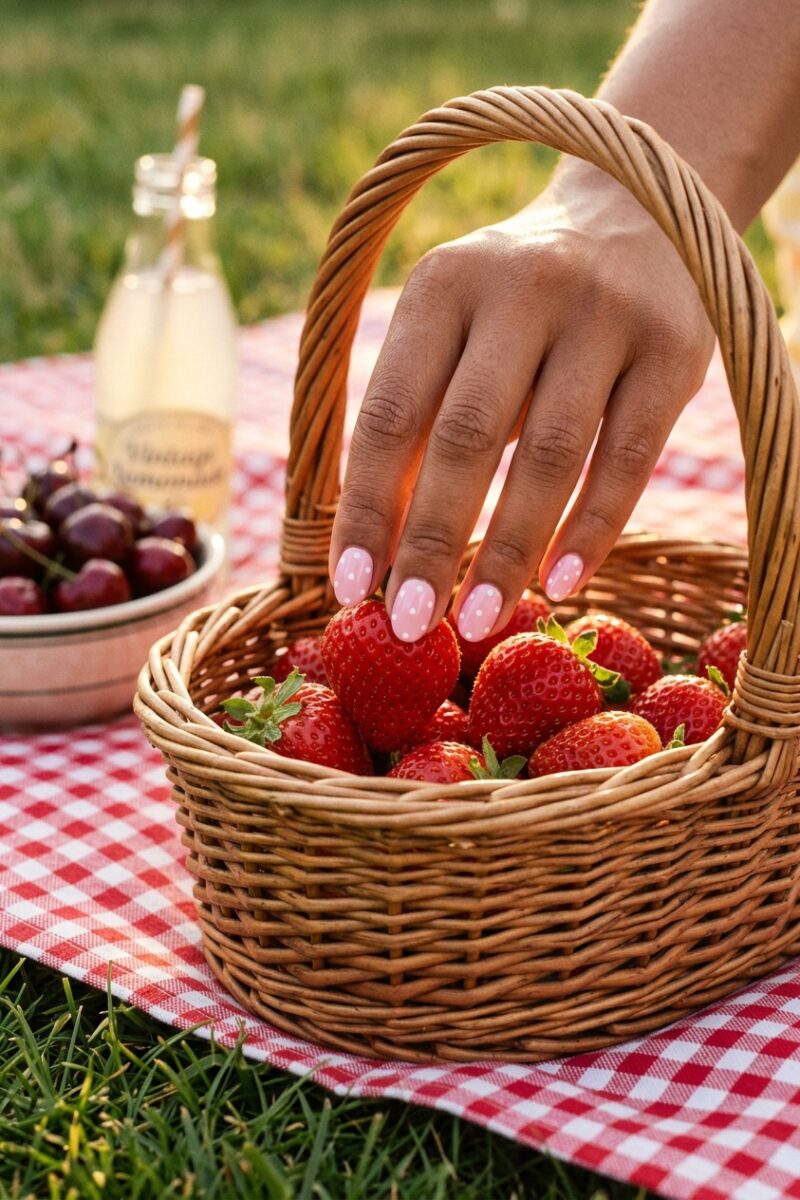
5. Classic Polka Dots
Polka dots are cute, beginner friendly, and forgiving. If one dot is a little off, nobody can tell. Keep them small and spaced out for a modern look.
How to get the look:
- Paint 2 coats of your base color. Baby pink, navy, and red all work well.
- Use a dotting tool to add small dots in a loose, scattered pattern.
- For a softer look, dot only 1 or 2 accent nails and keep the rest plain.
Best for: weekends, picnics, and vintage-inspired outfits.
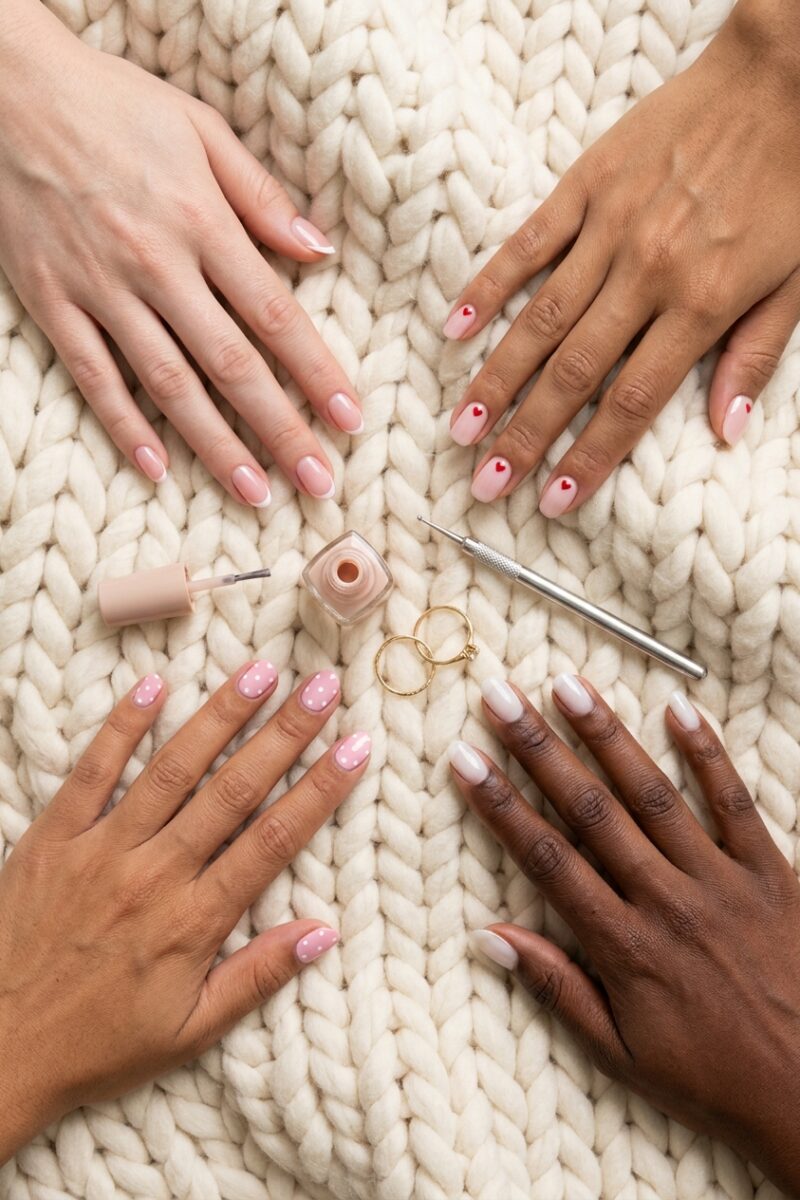
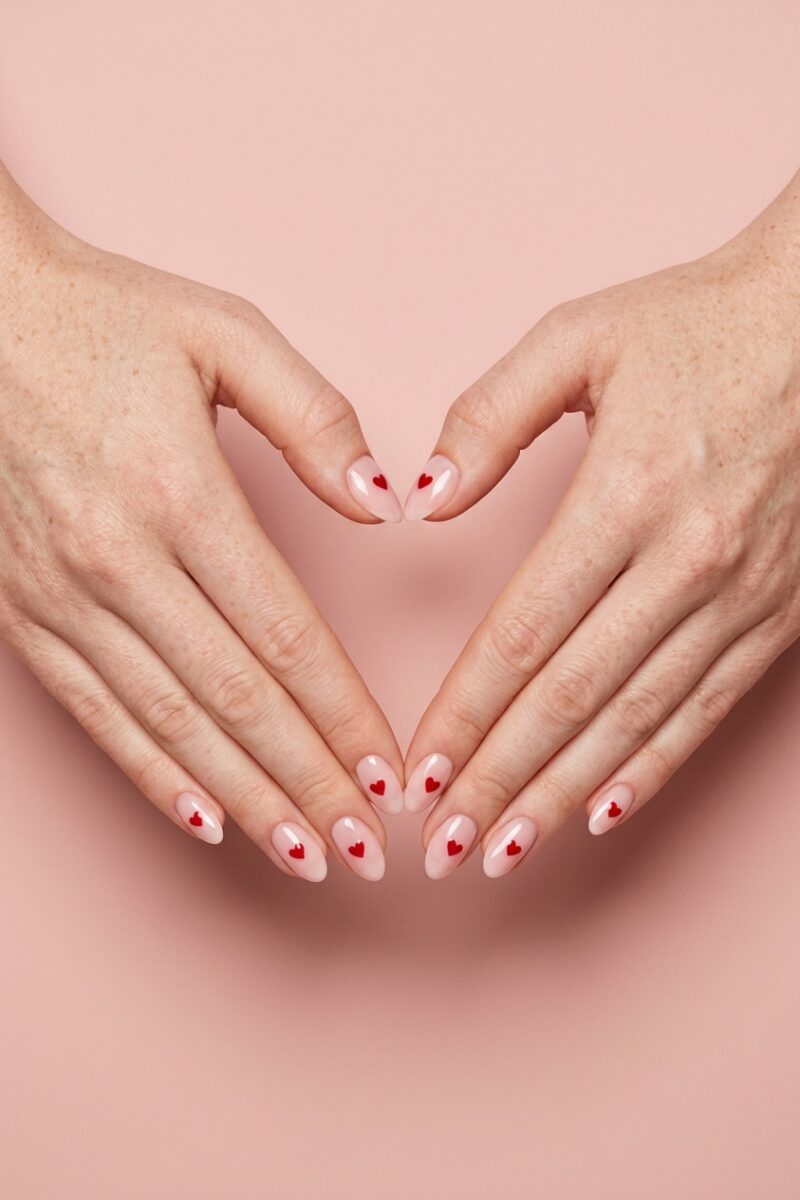
6. Tiny Hearts
Tiny hearts are one of the most-saved simple nail designs on Pinterest, and they take seconds. Two dots pulled into a point make a perfect little heart.
How to get the look:
- Paint a nude, milky, or pale pink base.
- Place two small red dots side by side near the center of the nail.
- Drag the bottom of each dot down with a toothpick until they meet in a point. Do one heart per nail, or just on accent nails.
Best for: date nights and Valentine’s Day, though honestly they work all year.
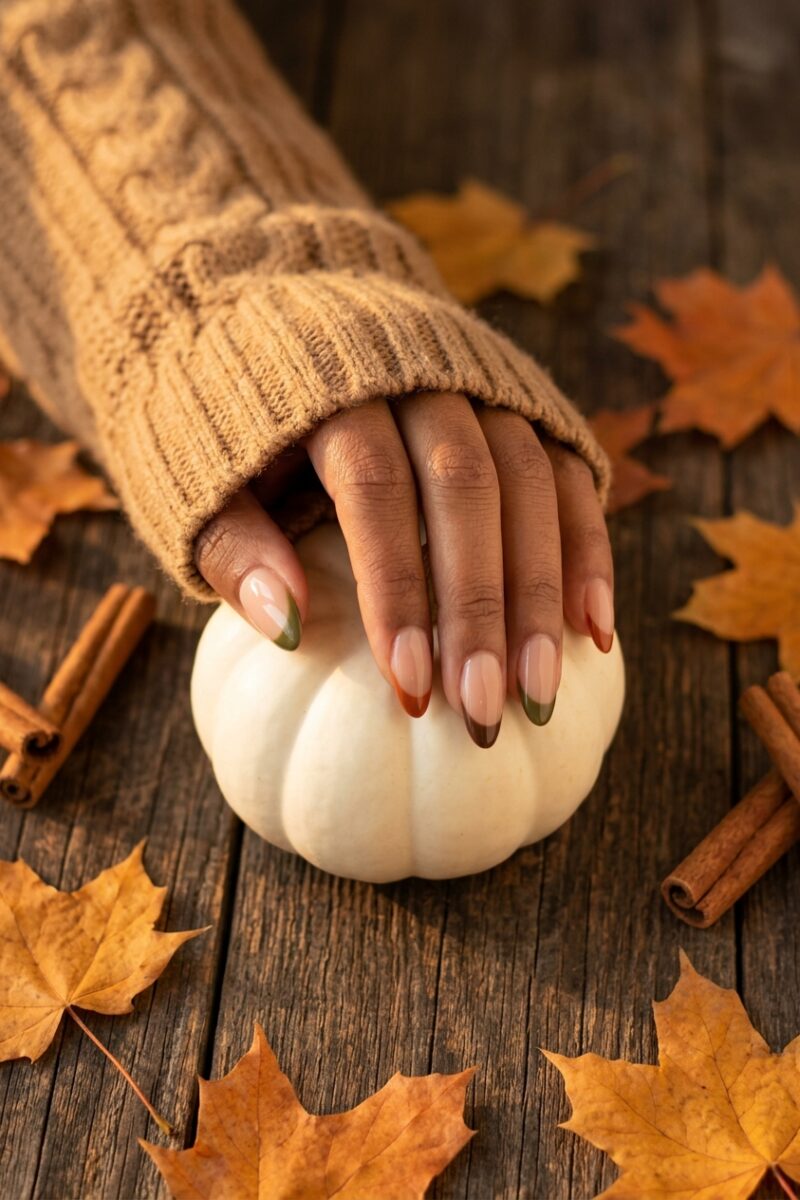
7. Colored French Tips
Swap the white tip for color. Pastels, brights, or one bold shade on every nail: it’s the easiest way to make a French manicure feel new again.
How to get the look:
- Paint a sheer nude base.
- Use nail tape as a guide, or a thin brush, to paint the tip in your chosen color.
- Want more fun? Use a different color on each tip.
Pro tip: For fall, try tips in olive green, rust orange, or chocolate brown.
8. Double-Line French
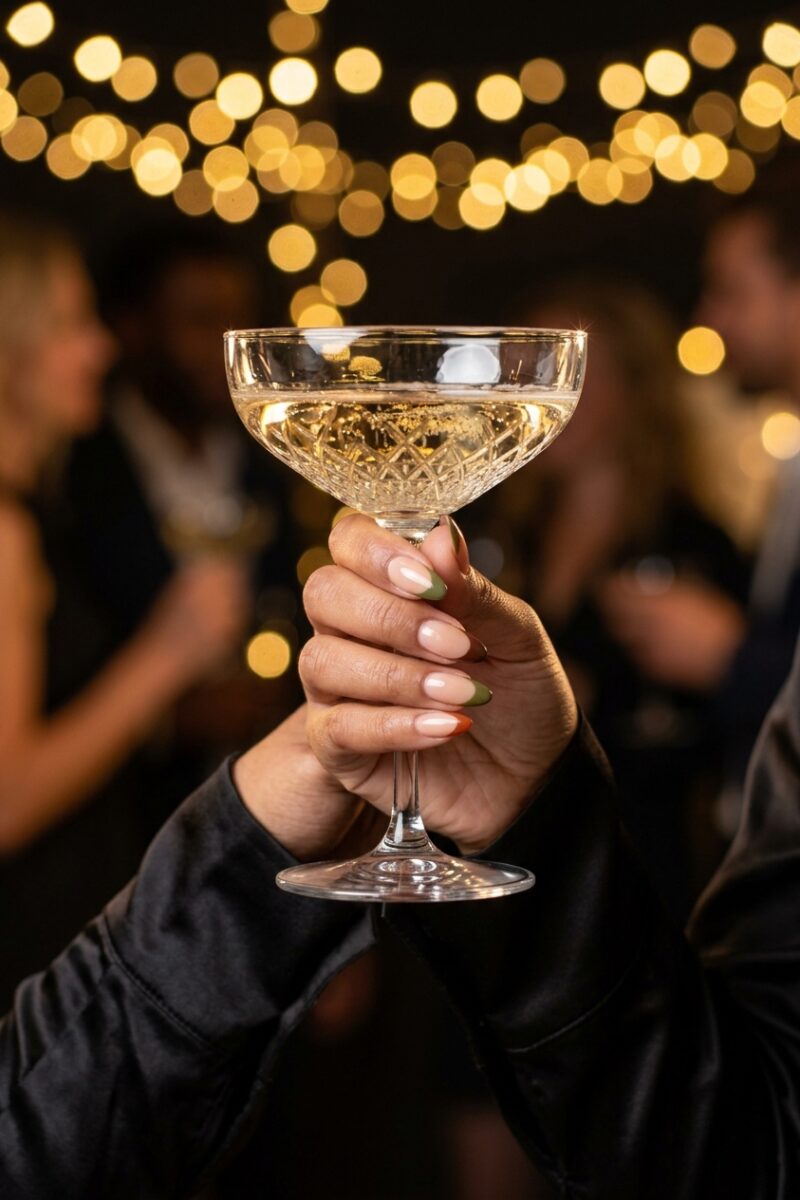
Instead of one tip, you paint two thin parallel lines along the edge. It looks detailed, but it’s really just a French manicure done twice.
How to get the look:
- Paint a nude base.
- Paint a thin line at the very tip with a striper brush.
- Add a second thin line just below it, leaving a small gap of nude between the two.
Pro tip: White with gold, or black with white, looks amazing.
9. Half-Moon Nails
Half-moon nails leave a little crescent of bare nail at the base. This vintage-inspired look is chic, and it grows out beautifully because the gap is part of the design.
How to get the look:
- Paint a clear base coat and let it dry fully.
- Stick a round hole-reinforcement sticker (or a curved piece of tape) at the base of each nail.
- Paint the rest of the nail in your color, peel the sticker off while it’s still wet, then top coat.
Best for: stretching a manicure longer without obvious grow-out.

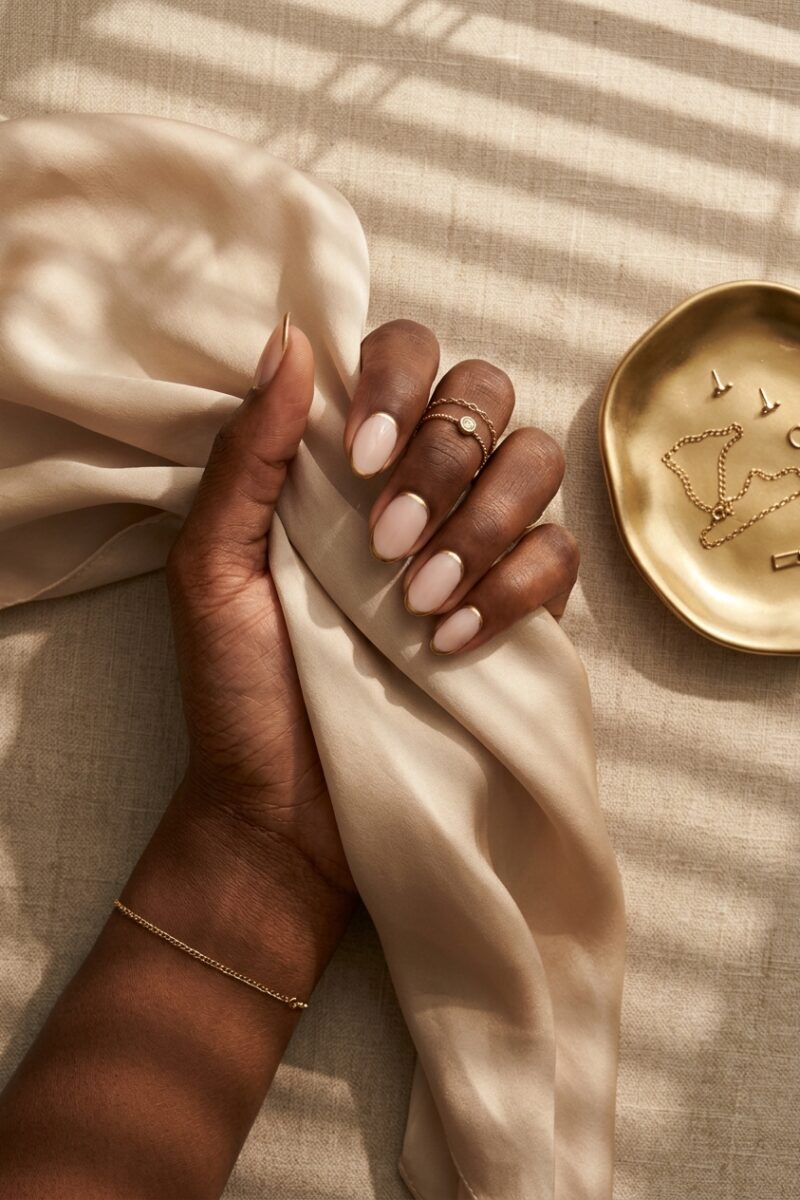
10. Gold Cuticle Outline
A reverse French paints the line along the cuticle instead of the tip. Done in gold, it looks like jewelry for your nails.
How to get the look:
- Paint a nude or milky base.
- With a fine brush and gold polish, trace a thin curve just above the cuticle.
- Top coat gently so the gold doesn’t drag.
Pro tip: Stack a few thin gold rings to match. It pulls the whole look together.
11. Nude With a Gold Pinstripe
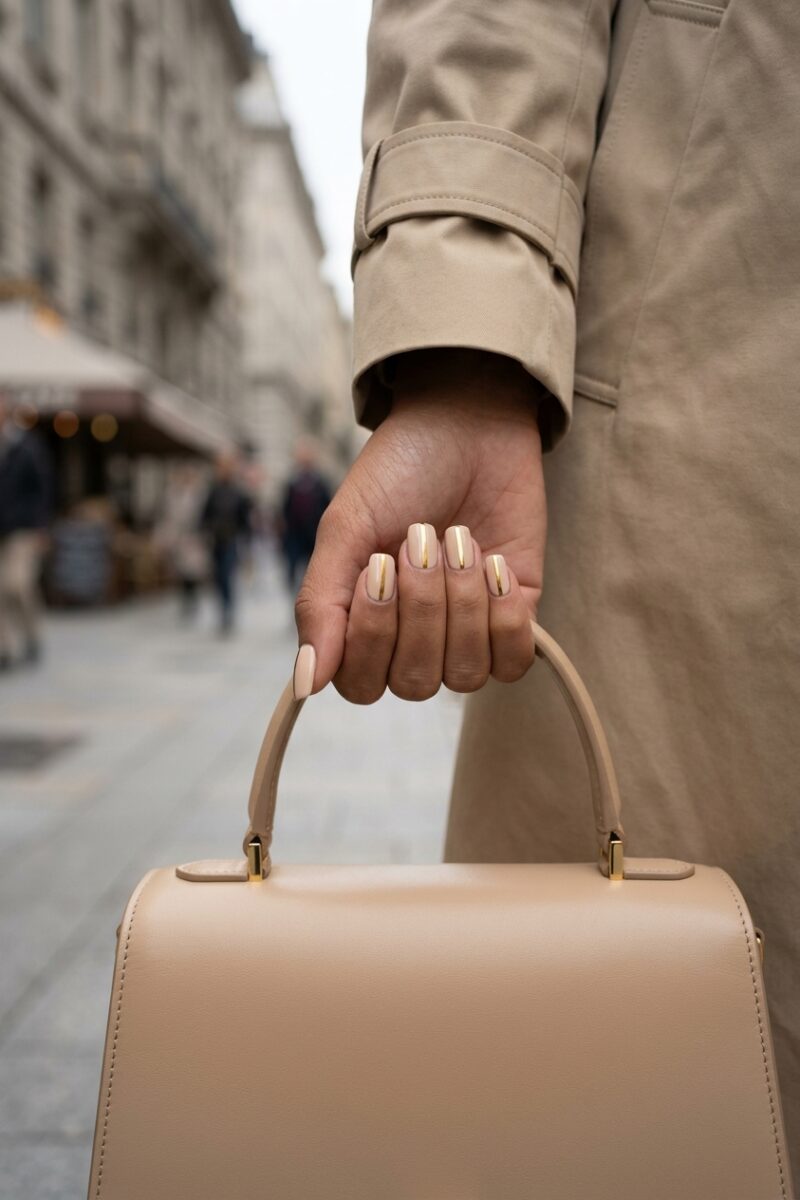
One thin stripe straight down the center of the nail. It’s so simple, and it looks so elegant.
How to get the look:
- Paint 2 coats of nude and let them dry completely.
- Lay gold striping tape vertically down the middle, or paint the line with a thin brush.
- Trim the tape at the edge of the nail and seal with top coat.
Pro tip: Try a diagonal stripe on one accent nail for a little contrast.
12. V-Tip French
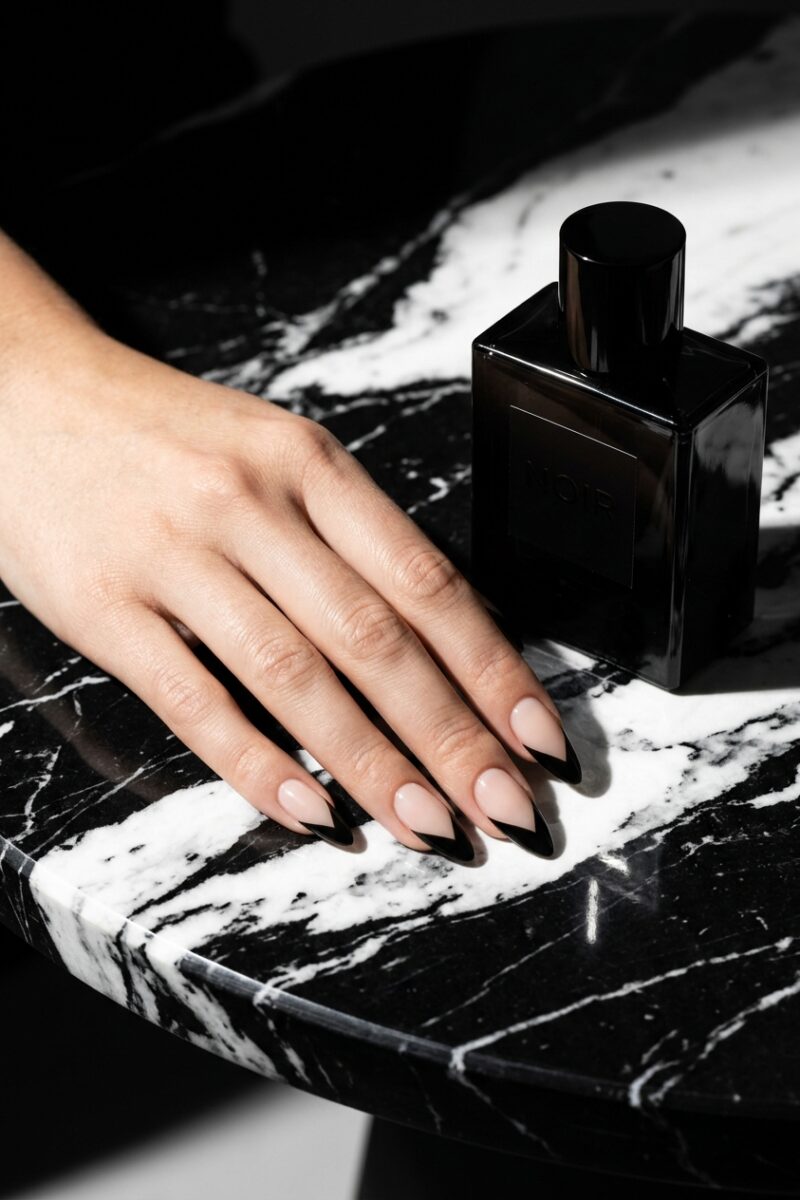
A V-shaped tip makes fingers look longer and gives the classic French a bit of edge. It looks best on almond or stiletto nails.
How to get the look:
- Paint a nude base and let it dry.
- Place two strips of tape at an angle to form a V near the tip.
- Paint the tip above the tape, peel the tape off while the polish is wet, then top coat.
Pro tip: Black V-tips on nude look sharp for evenings out.
13. Soft Ombré (Baby Boomer Nails)
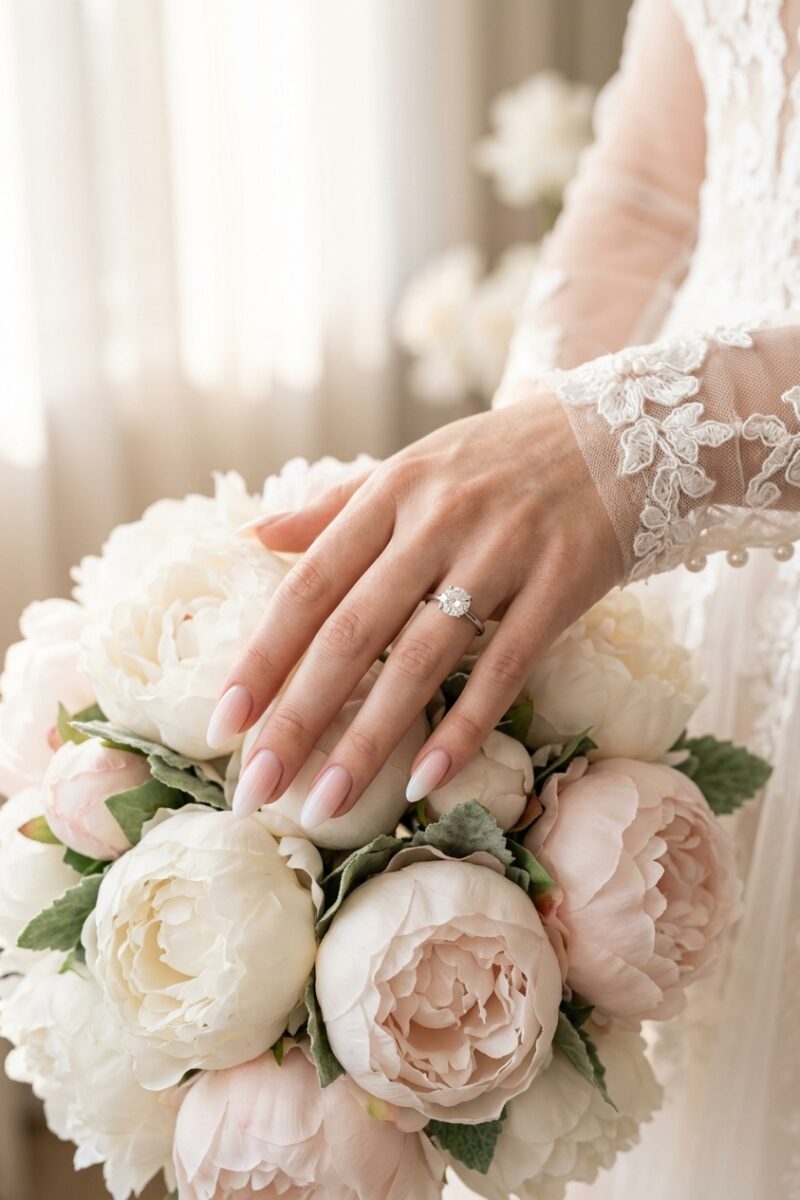
Baby boomer nails fade from soft pink at the base to white at the tip. They’re a favorite with brides, and a makeup sponge makes them look salon-perfect.
How to get the look:
- Paint a sheer pink base.
- Brush white polish onto the corner of a makeup sponge and dab it onto the top half of the nail.
- Repeat 2 to 3 times to build the fade, then use a thick top coat to smooth the blend.
Best for: weddings, graduations, and any big day.
14. Aura Nails
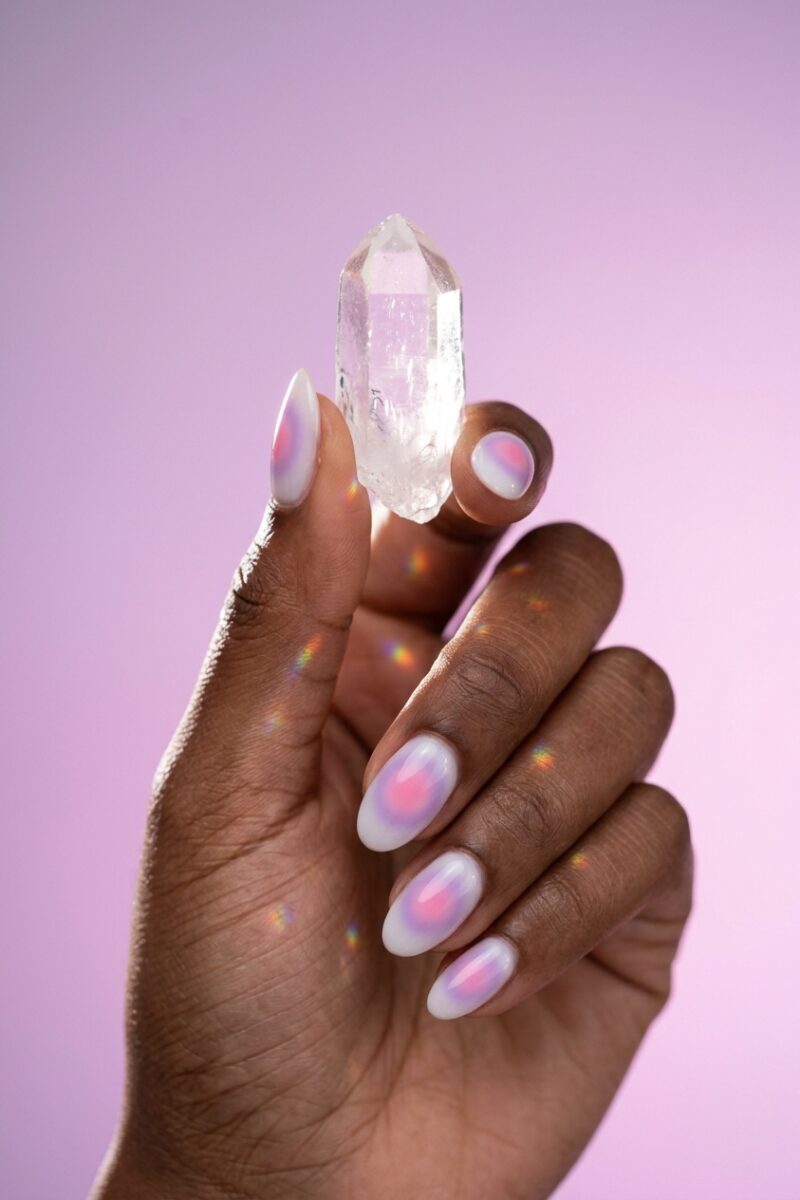
Aura nails have a soft glow of color in the center that fades outward, a bit like a mood ring. You don’t need an airbrush to make them.
How to get the look:
- Paint a white or nude base.
- Dab a small circle of color (pink, lilac, or orange) in the center of the nail with a sponge.
- Blur the edges by pressing on matching eyeshadow with a small brush, then seal with top coat.
Pro tip: Pressed eyeshadow under top coat is the easiest no-airbrush trick.
15. Tiny Daisies
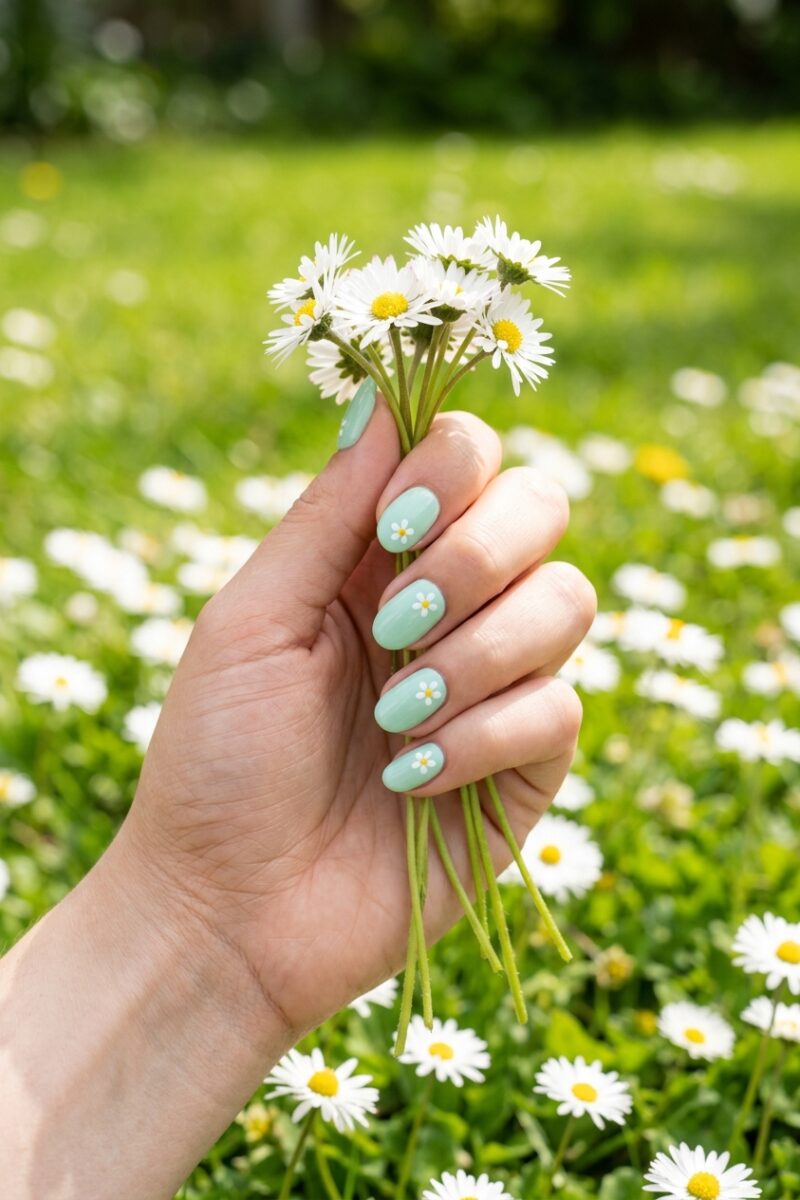
Little daisies are sweet and easy. They’re made entirely from dots, so you don’t need any drawing skills.
How to get the look:
- Paint a pastel or nude base.
- Make 5 small white dots in a circle to form the petals.
- Add one yellow dot in the center. Place a daisy on every nail or just on two accent nails.
Best for: spring, summer, and anyone who loves a soft, playful look.
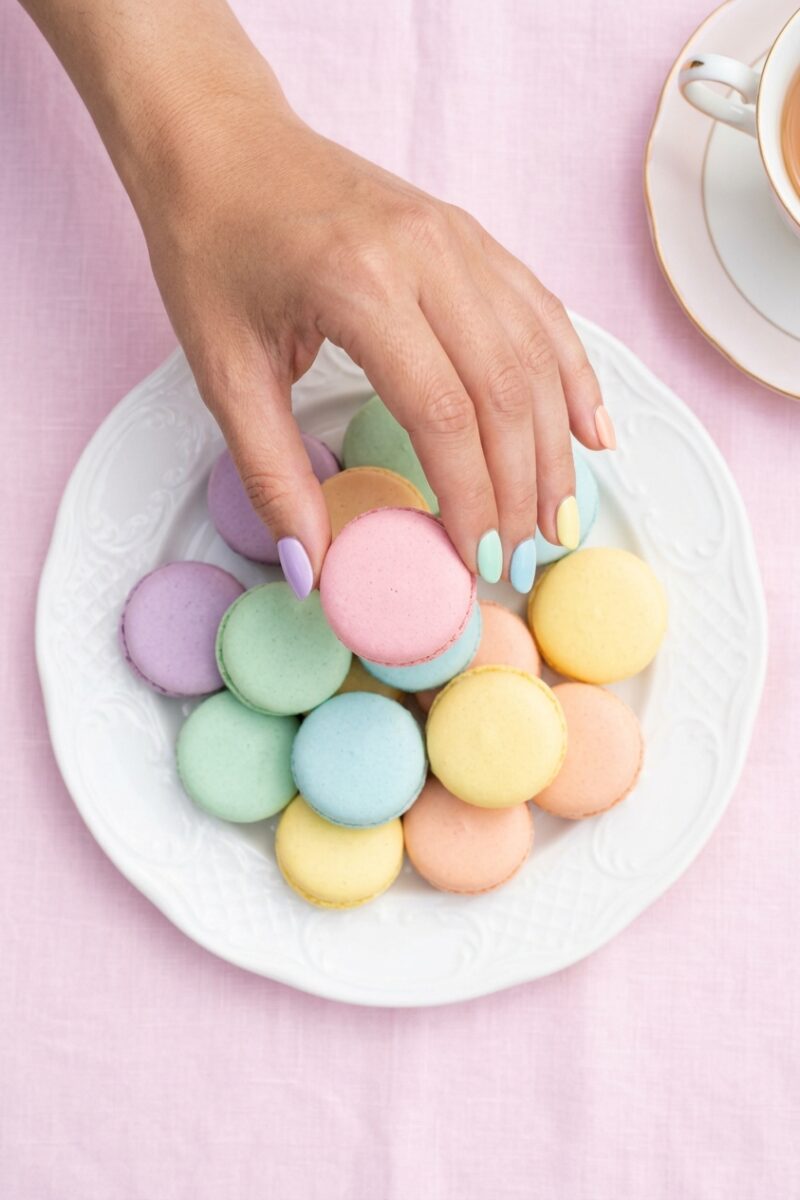
16. Pastel Skittle Nails
Every nail gets a different pastel. It takes zero technique and looks unbelievably cute.
How to get the look:
- Pick 5 pastels: lilac, mint, baby blue, butter yellow, and peach.
- Paint each nail a different shade, then repeat the same order on the other hand.
- Finish with a glossy top coat.
Fall twist: Swap the pastels for mustard, olive, rust, burgundy, and brown.
17. Wavy Swirl Nails
Swirl nails look artsy, but a slightly wobbly line is part of their charm. That makes them one of the most forgiving designs on this list.
How to get the look:
- Paint a nude or white base.
- With a thin brush, paint one or two wavy lines across each nail in contrasting colors.
- Top coat once dry. Pink with orange or blue with green gives a fun retro vibe.
Best for: vacations, festivals, and anyone who wants color without precision.
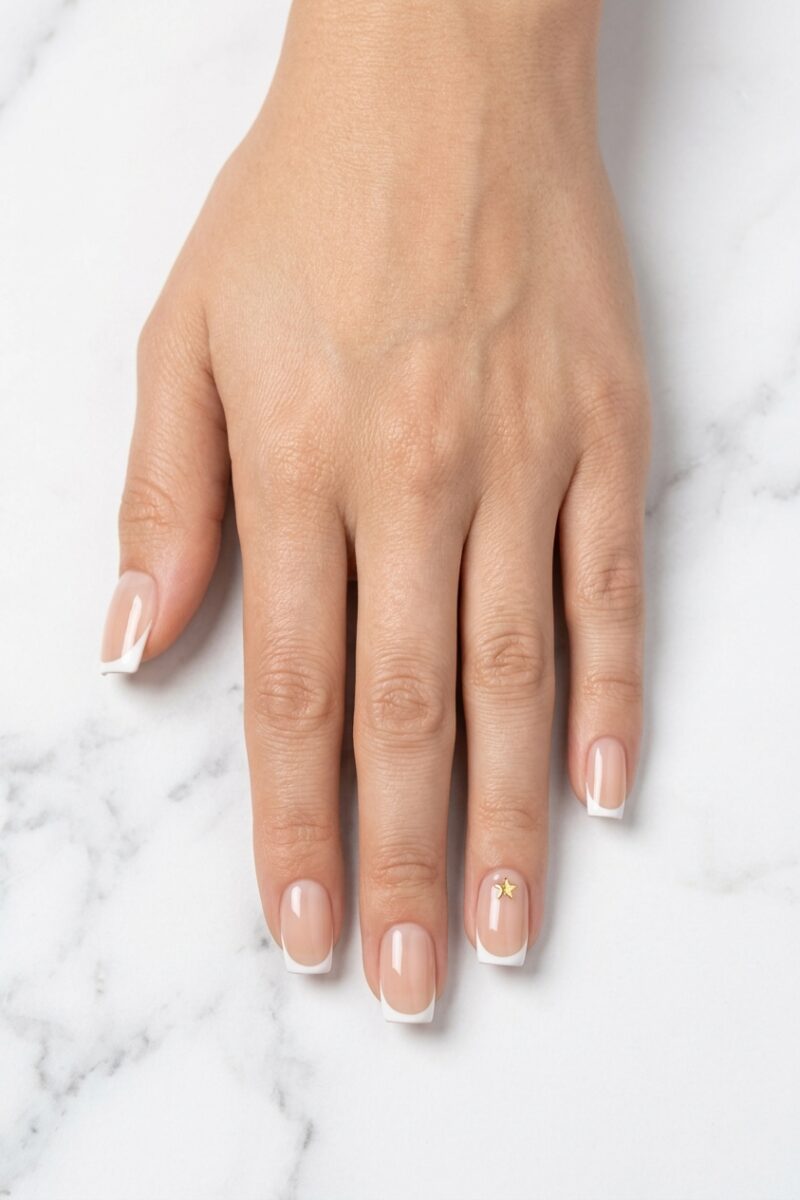
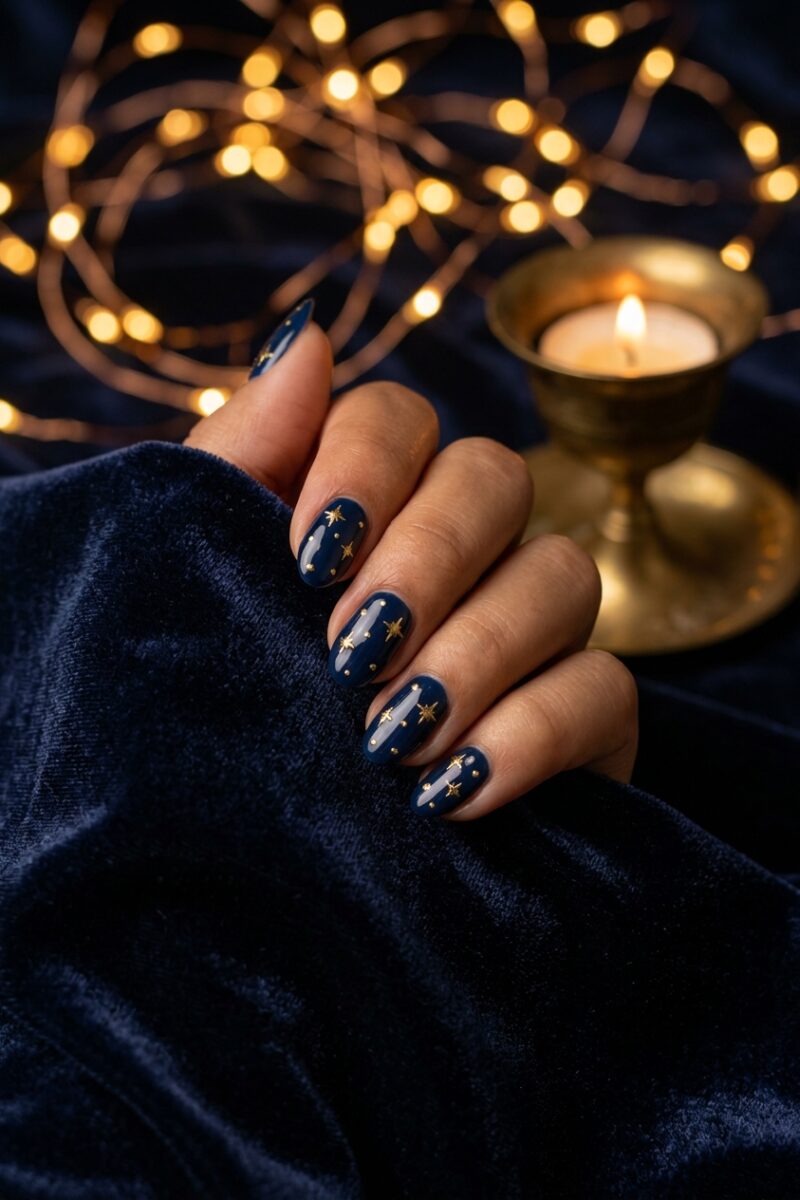
18. Tiny Stars
Little stars feel dreamy and a bit celestial. Gold or silver stars on a nude or navy base always look magical.
How to get the look:
- Paint a nude, navy, or black base.
- Draw tiny stars with a fine brush (an X with a plus sign over it), or press on small star studs.
- Add a few tiny dots around the stars for sparkle, then top coat.
Pro tip: Put stars on just 2 nails per hand for a subtle version.
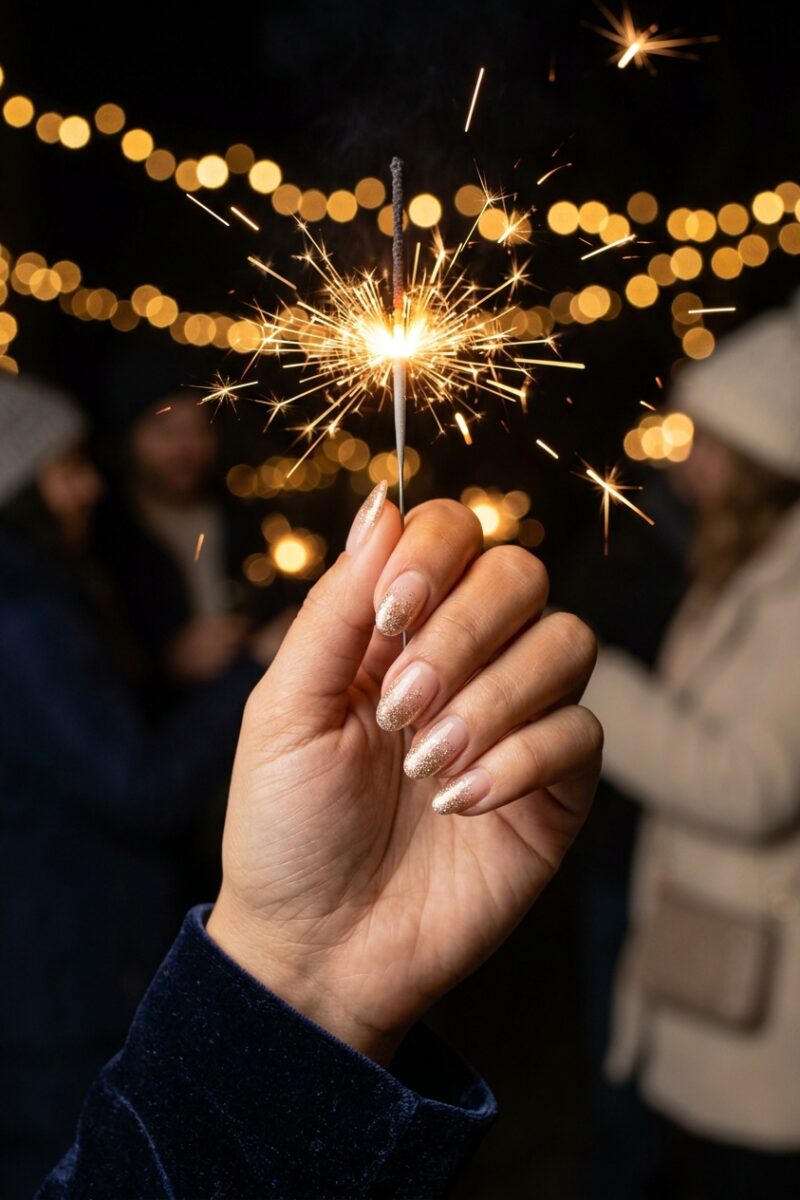
19. Glitter Fade
Glitter packed at the tip and fading toward the middle looks festive and hides chips beautifully. It’s my go-to when I know my nails are going to take a beating.
How to get the look:
- Paint a nude or sheer base.
- Brush fine glitter polish onto a makeup sponge and press it onto the tip, heavier at the edge.
- Seal with 2 coats of top coat to smooth out the texture.
Best for: holidays, parties, and anyone whose polish chips fast.
20. Matte Burgundy With Glossy Tips
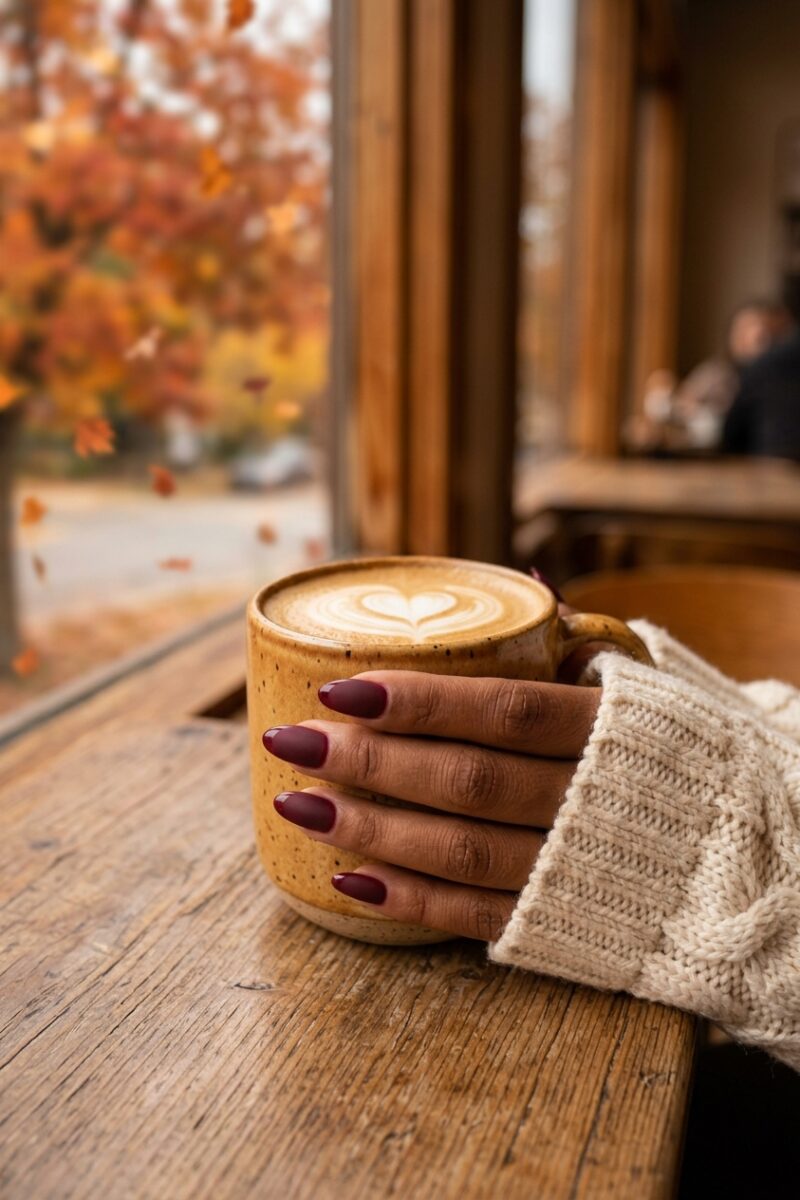
This is the perfect simple fall design: rich burgundy with a matte finish and a glossy French tip in the same shade. The tone-on-tone effect looks subtle and luxurious.
How to get the look:
- Paint 2 coats of burgundy and let them dry.
- Apply matte top coat over the whole nail.
- With a thin brush, paint glossy top coat on just the tips.
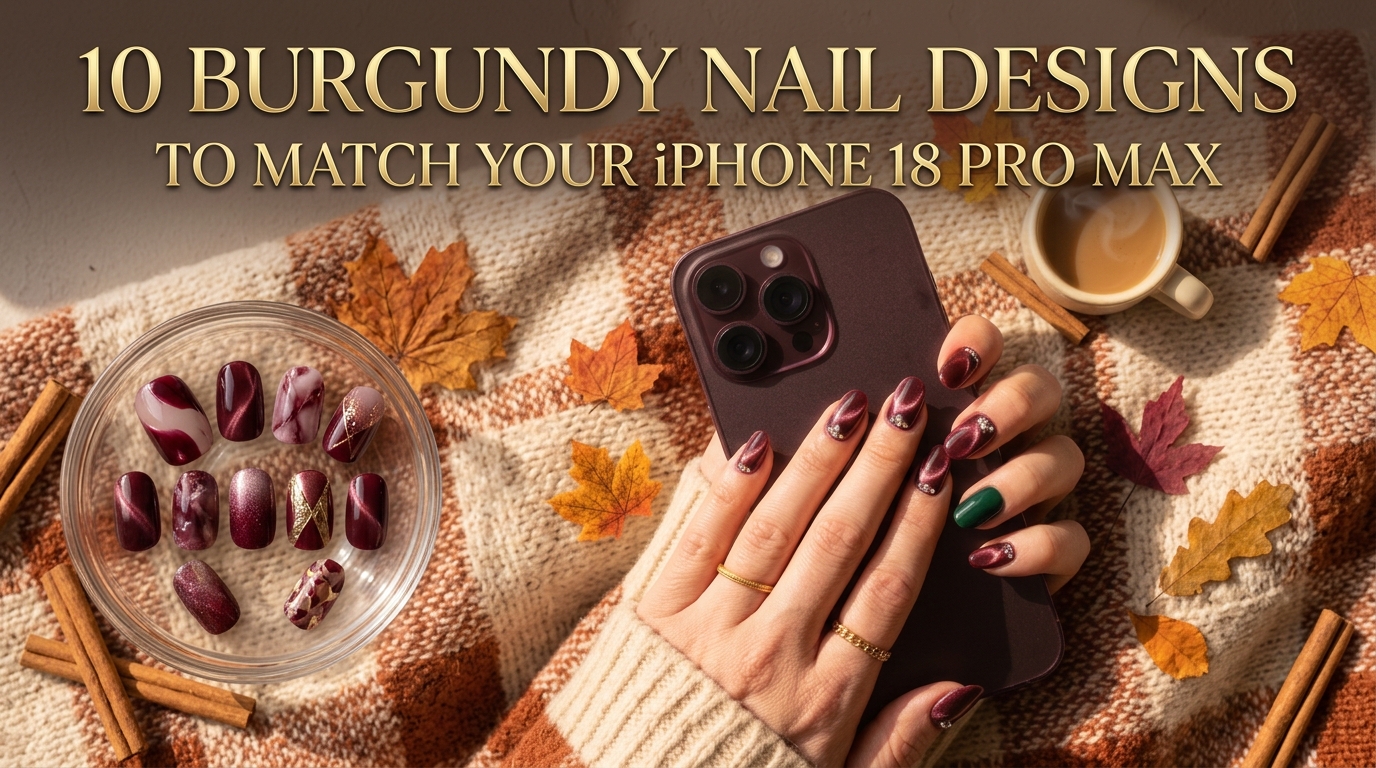
Love burgundy? See my 10 Burgundy Nail Designs to Match Your iPhone 18 Pro Max for more ideas.
How to Make Your Simple Manicure Last
Simple designs show chips more than busy ones, so prep matters. These habits keep my nails looking fresh for a full week:
- Prep first. Push back your cuticles and wipe each nail with rubbing alcohol before the base coat. Oil is the number one reason polish lifts.
- Use thin coats. Two thin coats dry harder and last longer than one thick coat.
- Cap the tips. Swipe your brush along the very edge of each nail with every layer, including the top coat.
- Refresh the top coat. Add a new layer every 2 to 3 days to bring the shine back.
- Wear gloves. Hot water and dish soap are polish killers.
- Oil your cuticles daily. Healthy cuticles make even a basic mani look salon-done.
Frequently Asked Questions
What is the easiest nail design for beginners?
The single dot accent and classic polka dots are the easiest. All you need is a dotting tool or a bobby pin, and small mistakes are almost impossible to spot.
Which nail shape works best for simple nail designs?
Short almond and rounded squoval shapes suit almost every simple design. Almond makes fingers look longer, while short rounded nails are the most practical for everyday life.
Can I do these designs without nail art tools?
Yes. A bobby pin replaces a dotting tool, regular tape works as a stencil, and a makeup sponge handles ombré and glitter fades. A thin eyeliner brush can stand in for a striper brush.
How long do simple nail designs last?
Regular polish lasts about 5 to 7 days with good prep and a fresh top coat every few days. Gel polish usually lasts 2 to 3 weeks.
Final Thoughts
Simple nail designs prove you don’t need hours at the salon to have nails you love. Pick one design from this list, grab a bobby pin and some tape, and give it a try this week.
If you’re a total beginner, start with micro French tips, the single dot, or tiny hearts. Once you’re comfortable, move on to aura nails or the glitter fade.
Don’t forget to save this pin to your nail inspo board, so you always have an easy idea ready for your next manicure.
Leave a Reply